
Wednesday, June 30, 2010
Class #4: Getting Started in Illustrator
Topics to cover:
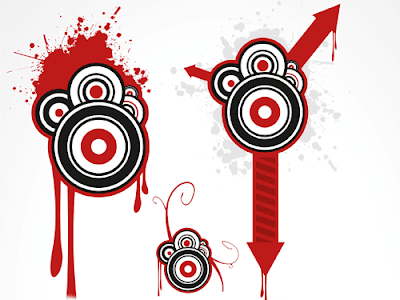
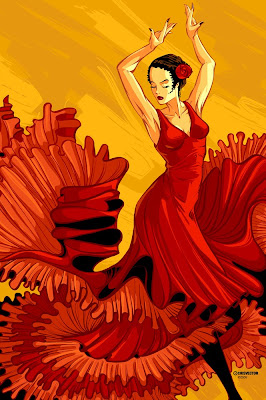
Examples of Vector Art
Opening
Saving
Place
If you would like to place an image into an already open document, hit Command+D, or File>Place.
Artboard
ArtBoard: Printable Area
Working area: All shapes and images will save with the file, but they won't be printable.
*To change the artboard size, go to File>Document Setup>Artboard
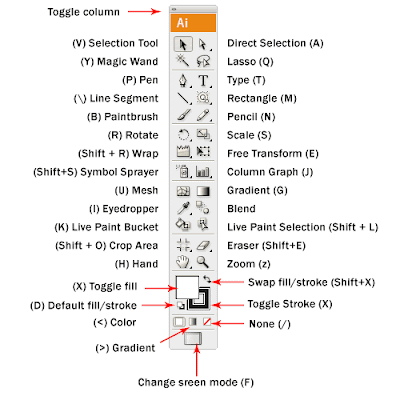
Toolbox
-Selection Tool
-Direct Selection Tool
-Rectangle, Ellipse, Polygon, Star Tools
-Fill and Stroke
-EyeDropper
-Pen Tool
-Align Objects
Collapsable Panels
Swatches
Use the swatch panel to choose and store default and user defined colors
Template
In the layers panel, click on the drop down menu to the right of the word "Layers". Select template, then make a new layer. This will allow you to trace imported images.
To get a better view of what you are tracing, hit Command + Y to go into Outline Mode. Very helpful.
Shape Modes:
-Add: Joins the outer edge of selected objects into one compound shape. Think of it like adding to a silhouette.
-Subtract: Subtracts the shape of the object in front from the object in back while preserving the paint attributes of the backgrond object. Think of it like a cookie cutter.
-Intersect: Protects overlapping areas and removes areas that don't.
-Exclude: Removes overlapping areas and preserves everything else.
In Class Assignments:
1. First, follow along as I demonstrate a few key tools. Try and get a feel for each tool, and the logic behind illustrator. Think polygons and overlapping shapes. Familiarize yourself with zooming in and out, using the space bar and mouse to move around the document, and switching between full screen and regular mode. It's easy to get lost in Illustrator when you're zoomed in all the way, so watch out!
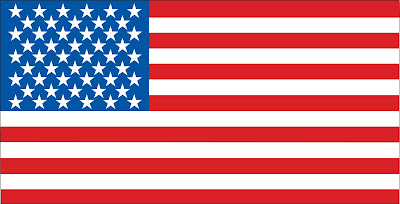
2. American flag (basic shapes)
-Using File>Place, bring up the American flag image.
-Turn it into a template in the drop down menu in the layers panel.
-On a new layer, use the swatch palette and the shape tools to recreate flag.
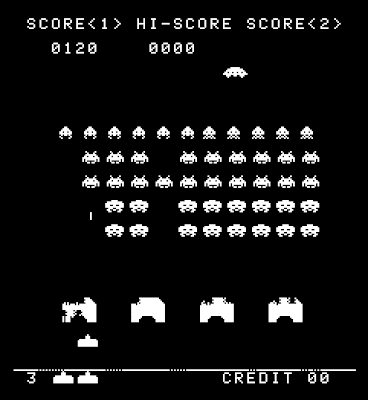
3. Space Invaders (pathfinder)
-Recreate the iconic Space Invaders using the pen tool, shape tools, and pathfinders.
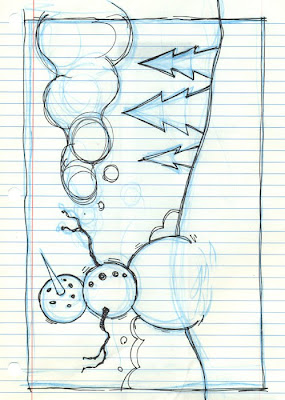
4.Snowman
-Use everything we've learned today to build a snowman!
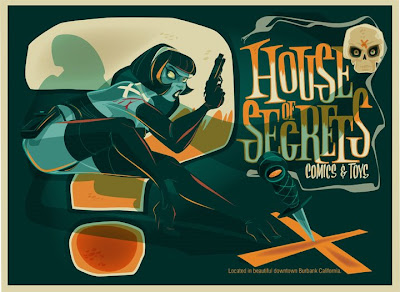
Illustrator Notes
In contrast to Photoshop, where images are represented by tiny dots of color, images in Illustrator are represented by points, lines curves, and polygons. Here's what Wikipedia has to say on the subject:
"Vector graphics files store the lines, shapes and colors that make up an image as mathematical formulae. A vector graphics program uses these mathematical formulae to construct the screen image, building the best quality image possible, given the screen resolution. The mathematical formulae determine where the dots that make up the image should be placed for the best results when displaying the image. Since these formulae can produce an image scalable to any size and detail, the quality of the image is limited only by the resolution of the display, and the file size of vector data generating the image stays the same.
Vector editors are often better for page layout, typography, logos, sharp-edged artistic illustrations (e.g. cartoons, clip art, complex geometric patterns), technical illustrations, diagramming and flowcharting. Bitmap editors are more suitable for retouching, photo processing, photorealistic illustrations, collage, and illustrations drawn by hand with a pen tablet."
Wednesday, June 23, 2010
Class #3: Layers, Blending Modes, and Image Adjustment
Our third and final class on Photoshop will delve a bit deeper into photo manipulation and adjustments. We'll accomplish this using Blending Modes, Opacity, and Image>Adjustments.
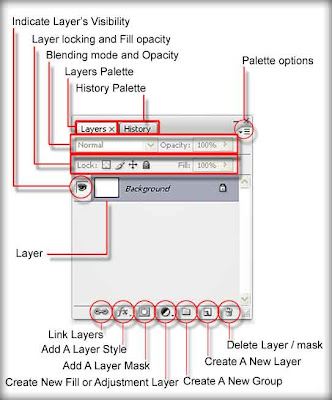
Layers Palette:
• Blend Mode is how that layer reacts with and/or affects the layer below. The most common mode is Normal. The others create many different effects. Try experimenting with the various modes.
• Opacity sets how much the layer below is hidden or revealed. 100% opacity is fully opaque, while 1% opacity is almost transparent.
• Fill Level is similar to Opacity, but only affects the pixels in the layer and not any layer style that has been applied to the layer.
• Layer Lock Options allow you to lock a layer to protect it. By default the Background layer is fully locked and shows a little lock icon. The partial lock options are:
Lock Transparency – No changes will affect transparent areas
Lock Image (paintbrush icon) – No changes can affect the pixels on the layer
Lock Position (four headed arrow) – Pixels can not be moved on the layer
•You can only affect the Active (selected) layer. A layer shows Active by the dark blue Highlighting and the paint brush icon.
Adjustment Layers
Brightness, contrast, exposure, hue, or saturation controls are located in the top menu bar, under "Image", then "Adjustments".
Brightness/Contrast: Pretty self explanatory. Brightness/Contrast is easy to use, but limited in scope.
Curves: Curves allows you to adjust an image's mid-tones, highlights, and shadows individually.
Exposure: Exposure allows you to make tonal adjustments in several areas:
-Exposure slider adjusts the highlight end of the tonal scale with minimal effect in the extreme shadows
-Offset darkens the shadows and midtones with minimal affect on the highlights.
Hue/Saturation:
Color Balance:
In class Assignments:
Flower
•Hue/Saturate
•Color Balance
•Blending Modes
Underexposed Photo
•Brightness/Contrast
•Curves
•Exposure
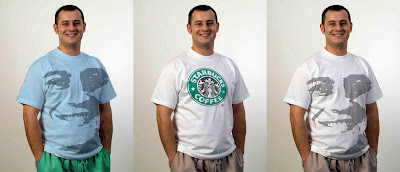
T-shirt
•Blending modes, Type, etc.
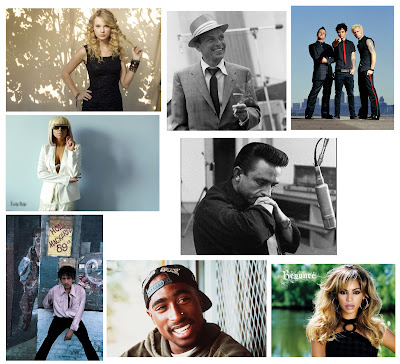
Collage
*You will need to find a way to save your work files from each class, so that I may have a record of the class assignments. I will collect them at the end of the semester. Flash drives are probably the best way to accomplish this, and they're pretty cheap these days.
Tools and Shortcuts
Here are few handy shortcuts that will help your navigation of Photoshop easier. Most of these apply across the Creative Suite as well. Obviously it takes a while to get the hang of these things, but once they start to make sense you'll become all the faster for it.
New File (command+N)
Open (command+O)
Save (command+S)
Go back one step (command+Z) (to redo, hit command+Z again)
To continue going back steps (command+option+Z)
Zoom In (Command +)
Zoom Out (Command -)
Move the image while zoomed in (Hold space bar and move around with the mouse)
Full Screen Mode (F)
Hide/Show Toolbox and Windows (Tab)
Copy (Command+C)
Cut (Command+X)
Paste(Command+V)
Enlarge Brush/Eraser/Clone Stamp/Burn/Dodge etc. tool ( ] )
Shrink Brush/Eraser/Clone Stamp/Burn/Dodge etc. tool ( [ )
Add to Selection (with lasso or selection tool selected, hold shift and drag to add to existing selection)
Subtract from Selection (with lasso or selection tool selected, hold option and drag to add to existing selection)
When I say Command, I mean the apple key next to the space bar. When I say Option, i mean the small key next to Command. Good luck!
Wednesday, June 16, 2010
Photoshop Class #2
Hello class! I'll be using blogger to upload class materials and examples, class notes, and links to helpful online resources. When we do class assignments, we'll pull images off here.
Topics to cover:
Basic Document Editing
Whether you start a new, blank document, or open an existing image, the most basic editing you can do is to the file itself. Many of these simple tools are found under "Image", in the menu bar at the top of the screen.
•Mode
-RGB:
-CMYK
-Grayscale
•Image Size
-Allows you to readjust the scale, resolution, and dimensions of your file.
•Canvas Size
-Allows you to readjust the dimensions of your file, without distorting your existing images.
•Image Rotate
-Allows you to rotate the entire canvas.
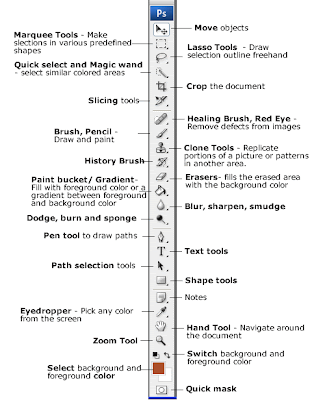
• Crop tool:
-In the tool box, select the crop icon, then drag a box around the part of the image you want to remain. Hit enter, and everything outside your selected area will be trimmed off.
Image Manipulation
•Spot Healing Brush
-Click on the band-aid icon. Hold the option key, then click on an area near the blemish you want to remove. This gives the tool an idea of what the affected area should look like.
•Red Eye Correction
-click and hold on the band-aid icon. Select the red eye correction tool. Click on red pupils.
Adding Text
-Select the "T" icon from the toolbox, or simply press the letter T. Click in the image to start a new line. When finished typing, press enter to commit. To re-edit type, click within the text with the type tool selected.
-Be mindful of font, size, and justification.
-Try vertical type.
-Layer> Layer Style> Stroke, Drop Shadow, Emboss, etc.
-Warp your text for neat effects!
In Class Assignments:
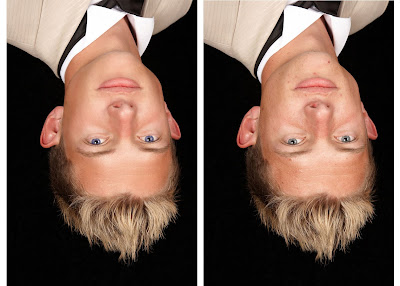
1. Open blemish.jpg
2. Rotate canvas to correct orientation.
3. Save. Discuss file formats.
4. Remove "after" shot using crop tool.
5. Using canvas size, add space to the right of the "before" shot.
6. Select the "before" shot with the rectangular marquee. Then, copy and paste it to the right of the original image.
7. Using the spot healing brush, healing brush, and clone stamp, airbrush out blemishes. Save when done.
Then...
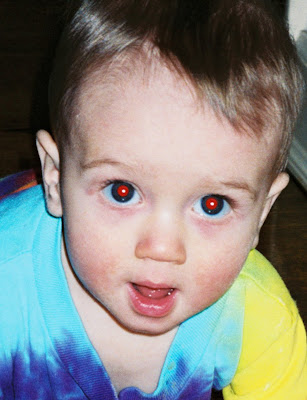
1. Open redeye.jpg
2. Using red eye tool, correct baby's red eye.
3. Save
Next...
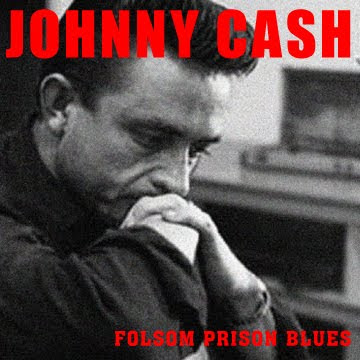
1. Open CDassignment.jpg.
2. Follow along as we crop an artist's image, drag into new document, then add type and graphic elements to create a CD cover.
3. Try it out yourself! I will be around to assist you.
Subscribe to:
Posts (Atom)